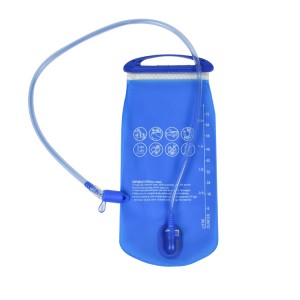
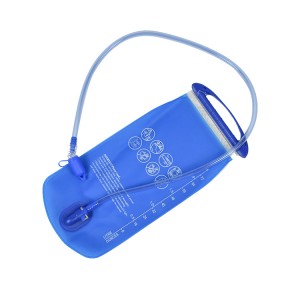
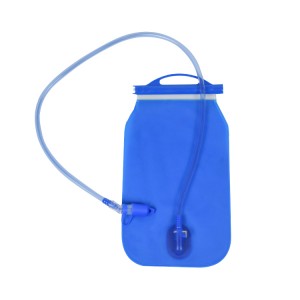
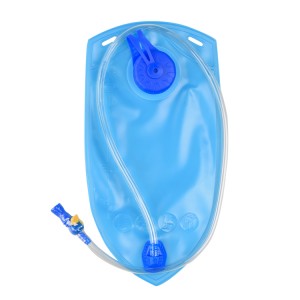
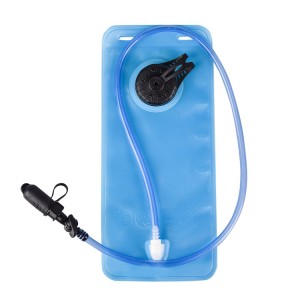
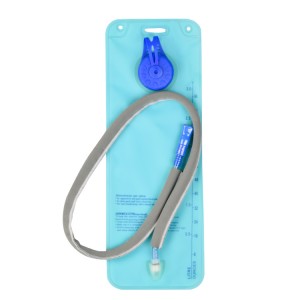
hydration bladder for backpack

Product Advantages

Using high-quality film, durable, not easy to age,
wear, no peculiar smell, food-grade material.

The 2 liter design meets your hydration needs and
is easy to carry at the same time, which will not cause
you too much pressure.

The design is simple and can be used with most of
the hydration backpacks on the market.

Product Details
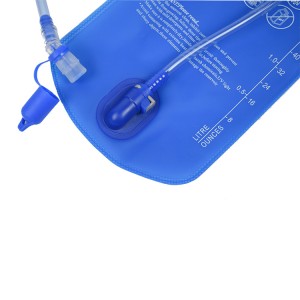
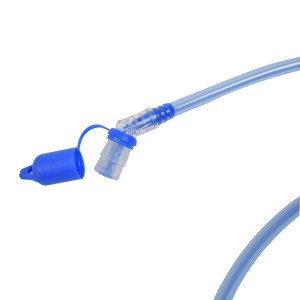
![]() The suction pipe has a one-button disassembly design for easy cleaning, and the water bag can also be used as a separate water storage bag.
The suction pipe has a one-button disassembly design for easy cleaning, and the water bag can also be used as a separate water storage bag.
![]()
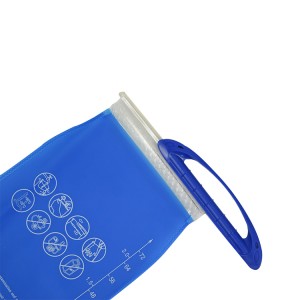
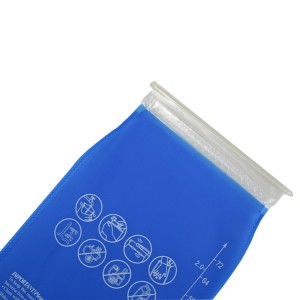
The design of the tick mark allows you to monitor your water intake and remaining water at any time.
![]()
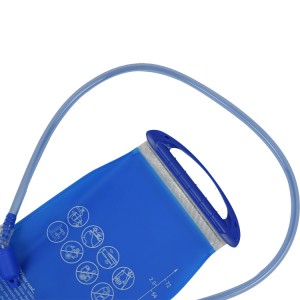
The text and pattern on the surface of the water bag adopt silk-screen printing technology, the pattern is not easy to faint, and it lasts as new.
![]()
The suction nozzle adopts an inclined design, the water flow is larger, and the water replenishment is more rapid.

Product Features

Film Thickness:( 0.3mm )

Tube length:750mm/890mm/customer request

Sample Lead Time:1) 7-10 working days if need to add logo. 2) within 3 working days for existing samples

Order Lead Time:20-25 days after the order is confirmed

Packing: Each item packed with an OPP bag
Many people think that travel is more than just travel, but also a process of self-growth.
During the trip, you have to plan your itinerary, overcome difficulties, overcome yourself, and ensure a smooth and safe trip. In an unfamiliar environment, all this is a self-challenge and a process of self-growth.
Some people like to climb to the top of a mountain, some people want to take a long and difficult line;
Some people want to cross no man's land, some want to drift in rivers, lakes, and seas, and some just want to walk in unfamiliar places.
How to choose the right size and capacity for a hydration bladder?
1. Consider Your Activity: The first step in choosing the right size and capacity for a hydration bladder is to consider what type of activity you will be using it for. If you are planning on short hikes or runs, a smaller bladder may be sufficient. However, if you will be participating in longer activities or backpacking, you may want to consider a larger bladder with a higher capacity.
2. Capacity: Hydration bladders come in various capacities, typically ranging from 1-3 liters. The capacity of the bladder will determine how much water it can hold at one time. Consider how much water you will need for your activity and how often you will have access to refill the bladder. If you are unsure, it is always better to go with a larger capacity to ensure you have enough water for your needs.
3. Size and Fit: Hydration bladders come in different sizes to fit different types of backpacks and hydration packs. Make sure to measure the dimensions of your pack's hydration compartment to ensure the bladder will fit properly. You should also consider the weight of the bladder when full, as a larger bladder will add more weight to your pack.
4. Drinking Tube Length: The length of the drinking tube that comes with the bladder is also important to consider. Longer tubes are useful for activities where you will be moving a lot, while shorter tubes are better for activities where you will be stationary.
5. Mouthpiece: The mouthpiece of the bladder should also be considered. Look for bladders with a self-sealing bite valve, which will prevent leaks when not in use. Some bladders also come with a twist shut-off valve
How to prevent water from tasting bad or getting contaminated in a hydration bladder?
1. Clean the bladder regularly: The most important step to prevent bad tasting water and contamination is regular cleaning of the hydration bladder. After every use, make sure to rinse out the bladder with hot water and mild soap. Then, allow it to air dry completely before storing it. This will prevent the build-up of bacteria and mold, which can cause bad taste and contamination.
2. Use proper storage techniques: When not in use, make sure to store the hydration bladder in a cool and dry place. Avoid leaving it in direct sunlight, as this can promote the growth of bacteria. It's also important to store it with the lid or cap removed to allow for proper ventilation.
3. Use clean water: Make sure to fill the hydration bladder with clean, filtered water. This will help prevent any impurities or contaminants from entering the bladder and affecting the taste of the water.
4. Use cleaning tablets or drops: There are specially designed cleaning tablets or drops available for hydration bladders that can help remove any bacteria or mold build-up. These can be added to the bladder and left to soak for a few hours before rinsing with hot water.
5. Avoid mixing sports drinks or juices: While it may be tempting to add flavor to your water by mixing in sports drinks or juices, these can leave residue in the bladder and cause it to become sticky and difficult to clean. Stick to using plain water in your hydration bladder.
6. Replace the bladder as needed: Over time, hydration bladders can become worn out and develop small tears or holes that can allow bacteria to enter. Make sure to regularly inspect the bladder for any signs of wear and tear, and replace it as needed.
7. Use a dedicated hydration bladder for specific activities: If you use your hydration bladder for different activities, such as hiking and cycling, consider using a separate bladder for each activity. This will prevent any cross-contamination and ensure that the water in each bladder stays clean.


